DIY Clay Jewelry Holders

/
0 Comments
Hi Friends,
 
I would love to say I saved the best for last, but it’s hard to top my vintage luggage chair. Todays tutorial is awesome and defiantly a close second. I found this one at A beautiful mess and one I had to try it. I remember playing with clay in high school. I was pretty sad they didn’t have any clay modeling classes at my Art School, so it’s been over 10 years since I’ve got down in dirty with a little clay, that's 10 years too long. This project rekindled my love, I foresee lots of clay projects in my near future.
 
Lets jump in.
I’ve been keeping my posts short and sweet. I hope you guys like it, no time to lolly-gag on this site. lol
 

CLAY JEWELRY HOLDERS


Skill: Beginner, kid friendly

Cost: $10 - $20
Time: 1 hour
 

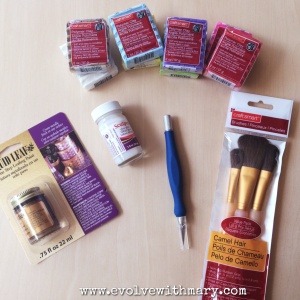
MATERIALS

Processed with Moldiv
Colorful clay - $1.50 each pick out 3-4 colors, make sure to grab while
Small oven safe bowl - $1.49 each I purchased 4 small ceramic bowls at target 
Gold liquid gilding - $5.99
Glaze - $5.99 optional
 
Processed with Moldiv
Preheat oven to 275 degrees F
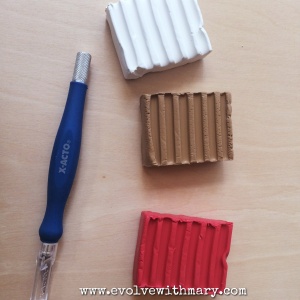
Pick your colors, about 3-4 colors should do the trick
 
Processed with Moldiv
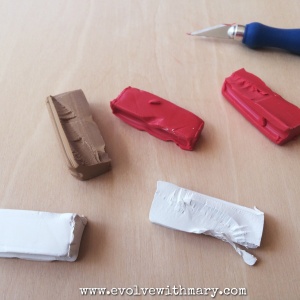
Pull off a chunk of clay, you don’t need a lot
 
Processed with Moldiv
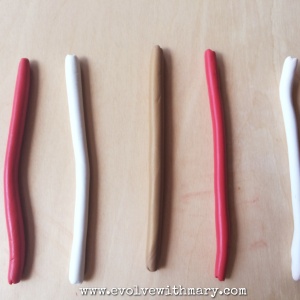
Use palms to create snakes out of each color
 
Processed with Moldiv
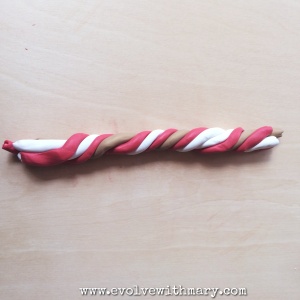
Combine smaller snakes and create one big colorful snake
 
Twist Twist Twist Twist
I took pictures of my first try at this project, in the video you can see I twisted a lot more than I did in these picture
Twisting creates colorful swirls
 
Once twist is twice its length fold snake in half and twist the two ends together
 
Continue to twist and roll twist and roll until you are happy with your swirls
I twisted about 4 times 
 
Processed with Moldiv
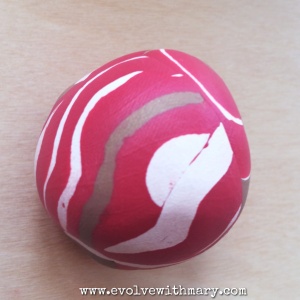
One you’re happy with your swirls smooth the your twisted master pieces into a ball
 
Processed with Moldiv
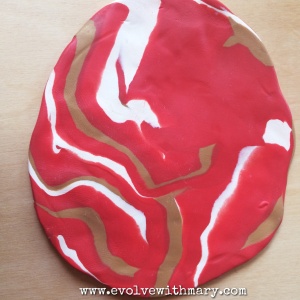
Using your hands, and fingers, press and flatten clay until its about 6”wide and 1/2 inch thick
 
Processed with Moldiv
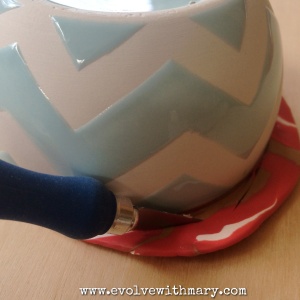
Use the top of your bowl to cut out a circle
Flip mouth of bowl over and press down firmly
Remove access clay
or use knife
 
Processed with Moldiv
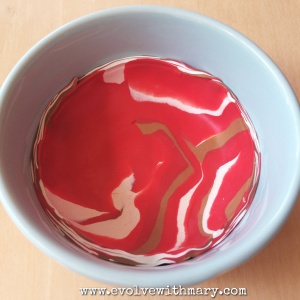
Carefully place clay into oven safe bowl push down sides and smooth with finger tips
Bake clay for 15 minutes at 275F or whatever the packaging suggests
 
Processed with Moldiv
Remove bowl from oven and allow clay to cool for at least 5 minutes
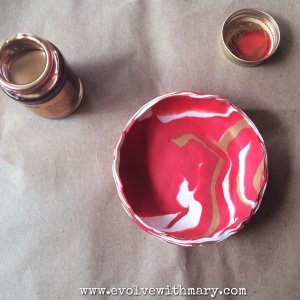
With oven mittens turn bowl over and tap until clay dish falls out
allow to cool for another 10 minutes
Once completely cool use a small paint brush and paint the rim of your bowl gold
Allow rim to dry
Processed with Moldiv
Paint entire bowl with glaze to obtain a glossy finish
 
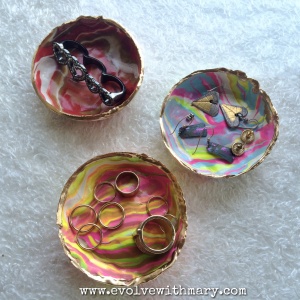
**This bowl is not food safe of totally waterproof but its great for holding random rings and stud earrings
 
The bowl will be flimsy like hard rubber
 
DONE!
 
I hope you enjoyed this week as much as I did.
Have a great weekend.
 
XOXO
MARY


You may also like

No comments:

About

My name is Mary! I was obese for most of my life, around 7 years ago I decided to take control of my life and successfully lost over 150 pounds. But that's just the beginning of my journey. Join me as I evolve into the person I was born to become. I love to cook, craft, read, and make people smile. I'm happy you've stumbled on by. Let’s Evolve Together.

Contact Form

Name

Email *

Message *